Before the Lift Goes Up: Lights, Wipers, Horn and Cabin Filter
A 15-minute multi point vehicle inspection starts before the lift moves. Begin with the car on the ground and the key in the ignition. Have the technician turn on every exterior light: headlights (both beams), turn signals, brake lights, reverse lights, and license plate bulbs. Each needs a quick function check from outside the vehicle. Mark any bulbs that do not illuminate, flicker, or show unusual color. Snap a photo of any issues for reference.
Check the wipers next. Lift each arm, inspect blade condition, and check for tears or stiff rubber. Spray the windshield and run the wipers. If they streak or skip, that is a sign for replacement. Test the horn for function and volume: a weak or non-functioning horn is a safety concern.
Move to the cabin. Open the glove box or panel to access the cabin air filter. Remove it, check for leaves, dirt, or discoloration. Photograph a dirty filter to show the customer. Reinstall it or set it aside for replacement. This step takes two minutes and catches an often-missed upsell.
Keep reading: How to Calculate Effective Labor Rate, ARO, and Tech Efficiency
Tires: Tread Depth at Three Points, Pressure, Age and Wear Pattern
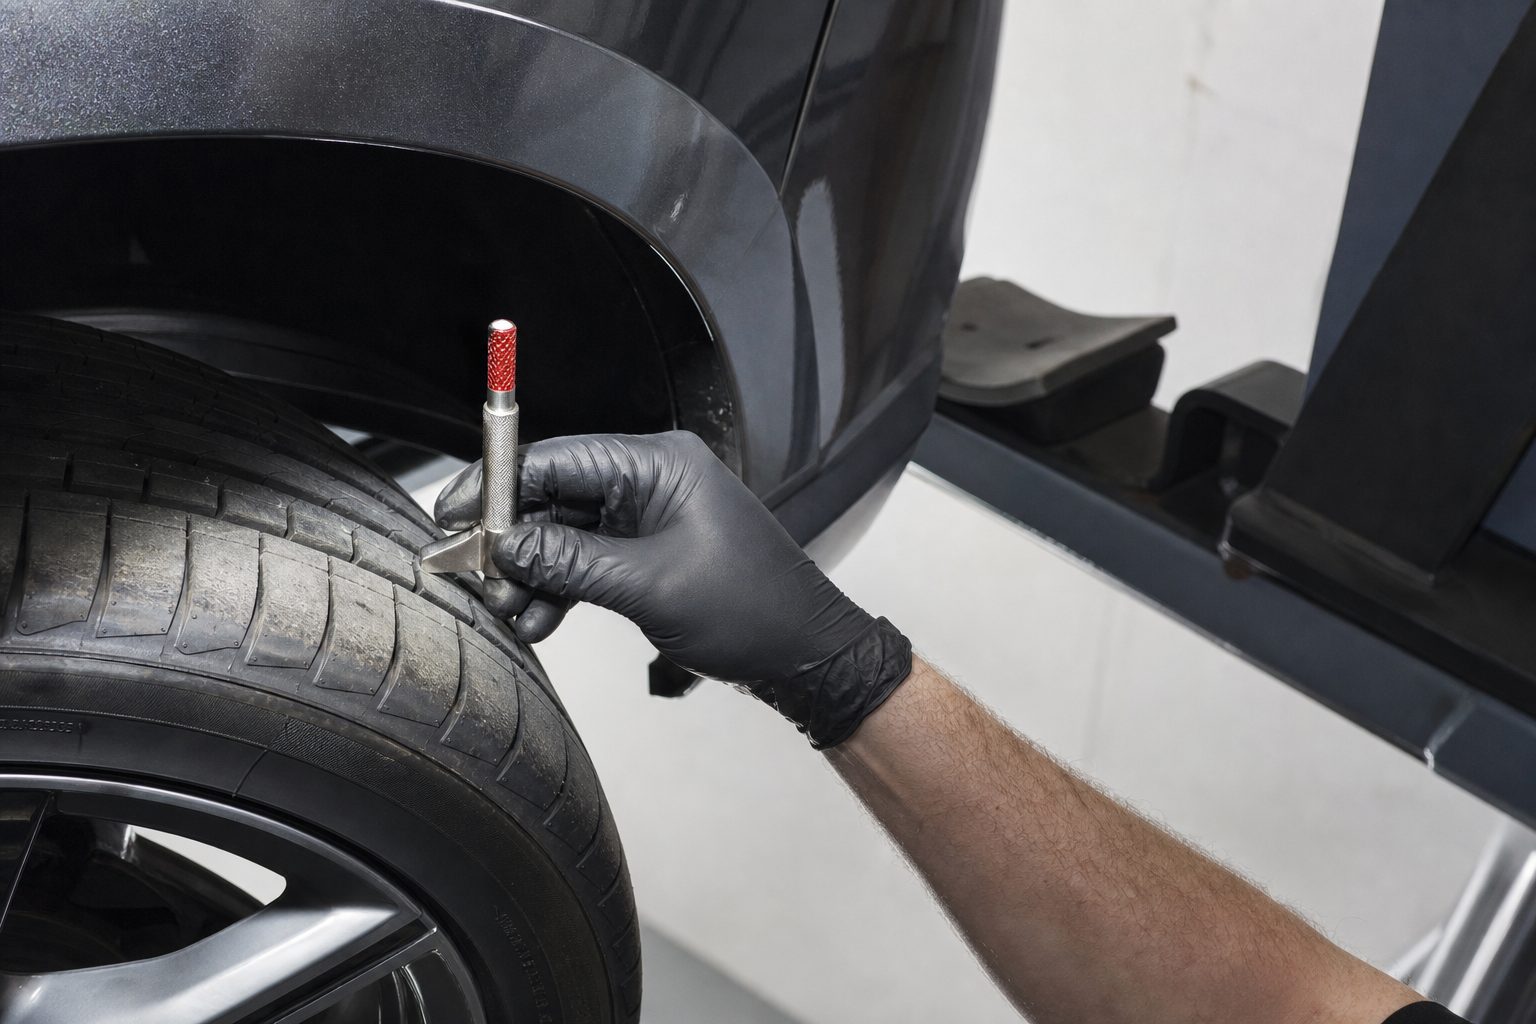
Before raising the vehicle, inspect all four tires. Start with tread depth. Use a tread depth gauge at the outside, center, and inside of each tire. Write down all three readings for each tire. This identifies uneven wear from alignment problems or underinflation.
Check tire pressure with a reliable gauge, not just the TPMS readout. Record the actual readings and compare them to the door jamb sticker. Look at the wear pattern: cupping, feathering, or edge wear can point to worn suspension or steering parts. Photograph any visible wear.
Find the DOT date code on each tire sidewall. If any tire is over six years old, note it. Rubber ages even if the tread is deep. Cracks in the sidewall or between treads should be photographed and called out for safety.
Brakes: Pad and Shoe Thickness, Rotor Condition, Hoses and Lines
Raise the vehicle now. Once the wheels are off, check brake pad thickness through the caliper window or by removing the wheel if necessary. Measure the thinnest point. Many shops use a color-coded gauge: green is safe, yellow is caution, and red means replace. Do the same for brake shoes if the vehicle has drums.
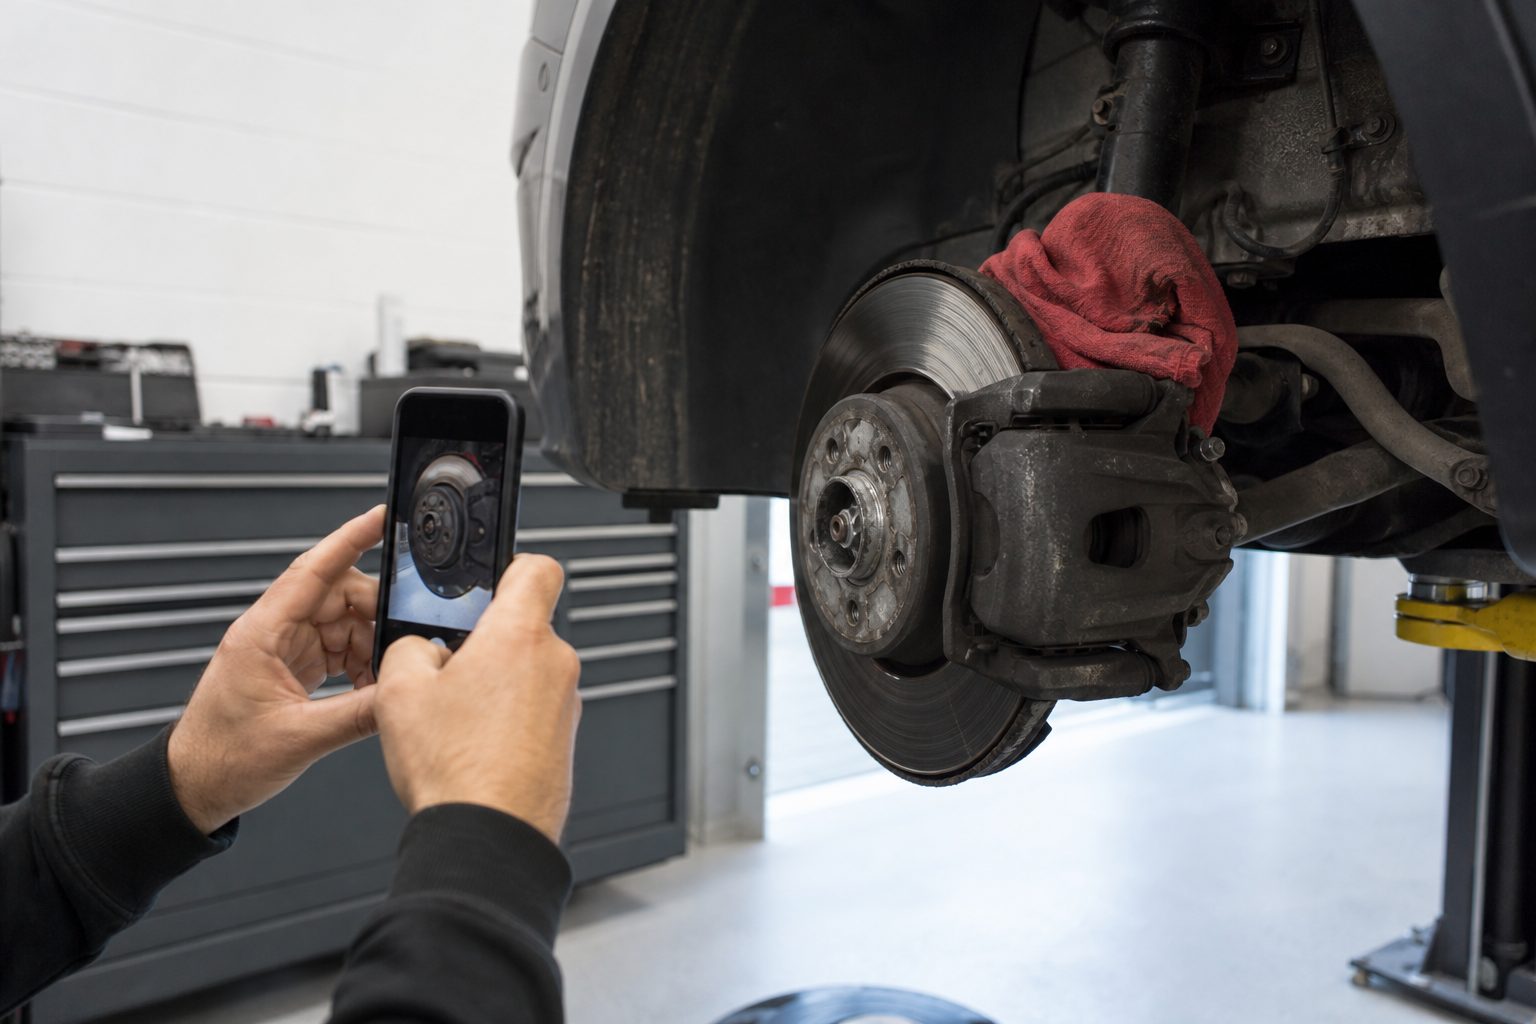
Inspect rotors for scoring, grooves, or blue spots from overheating. Run a finger across the surface to feel for lip or thickness variation. Photograph any visible damage. Flex brake hoses by hand, looking for cracks or swelling. Metal lines should not show rust or wetness.
A quick pull test on each caliper can reveal seized hardware. Note any uneven wear between inner and outer pads, as this could signal a sticking caliper or guide pin.
Keep reading: Three Hours on a No Start: Where Diagnostic Time Actually Goes
Underneath: Leaks, CV Boots, Bushings, Exhaust and Mounts
With the car in the air, take a flashlight and check for leaks. Look at the oil pan, transmission, and differential. Any fresh wetness or drips should be wiped and photographed. Oil residue can travel from further up, so trace leaks to their highest point.
Inspect CV boots on front-wheel and all-wheel drive vehicles. Look for torn rubber and grease splatter. A torn boot means the joint will soon fail. Wiggle the axle by hand to check for excessive play.
Check suspension bushings for cracks, dry rot, or separation from their sleeves. Use a pry bar to gently test movement. Examine engine and transmission mounts for splits or sagging. On the exhaust, look for rust holes, broken hangers, or loose clamps. Photograph anything that needs a closer look.
Under the Hood: Fluid Condition, Belt, Battery Test and Air Filter
Lower the vehicle and pop the hood. Start with fluids. Pull the engine oil dipstick, check level and color. Wipe and reinsert for an accurate reading. Milky or black oil is a warning sign. Look at the coolant reservoir for level and color. Open the cap only if the engine is cool.
Check brake and power steering fluid levels. Smell for burnt odor in automatic transmission fluid if accessible. Photograph any container that shows low or discolored fluid.
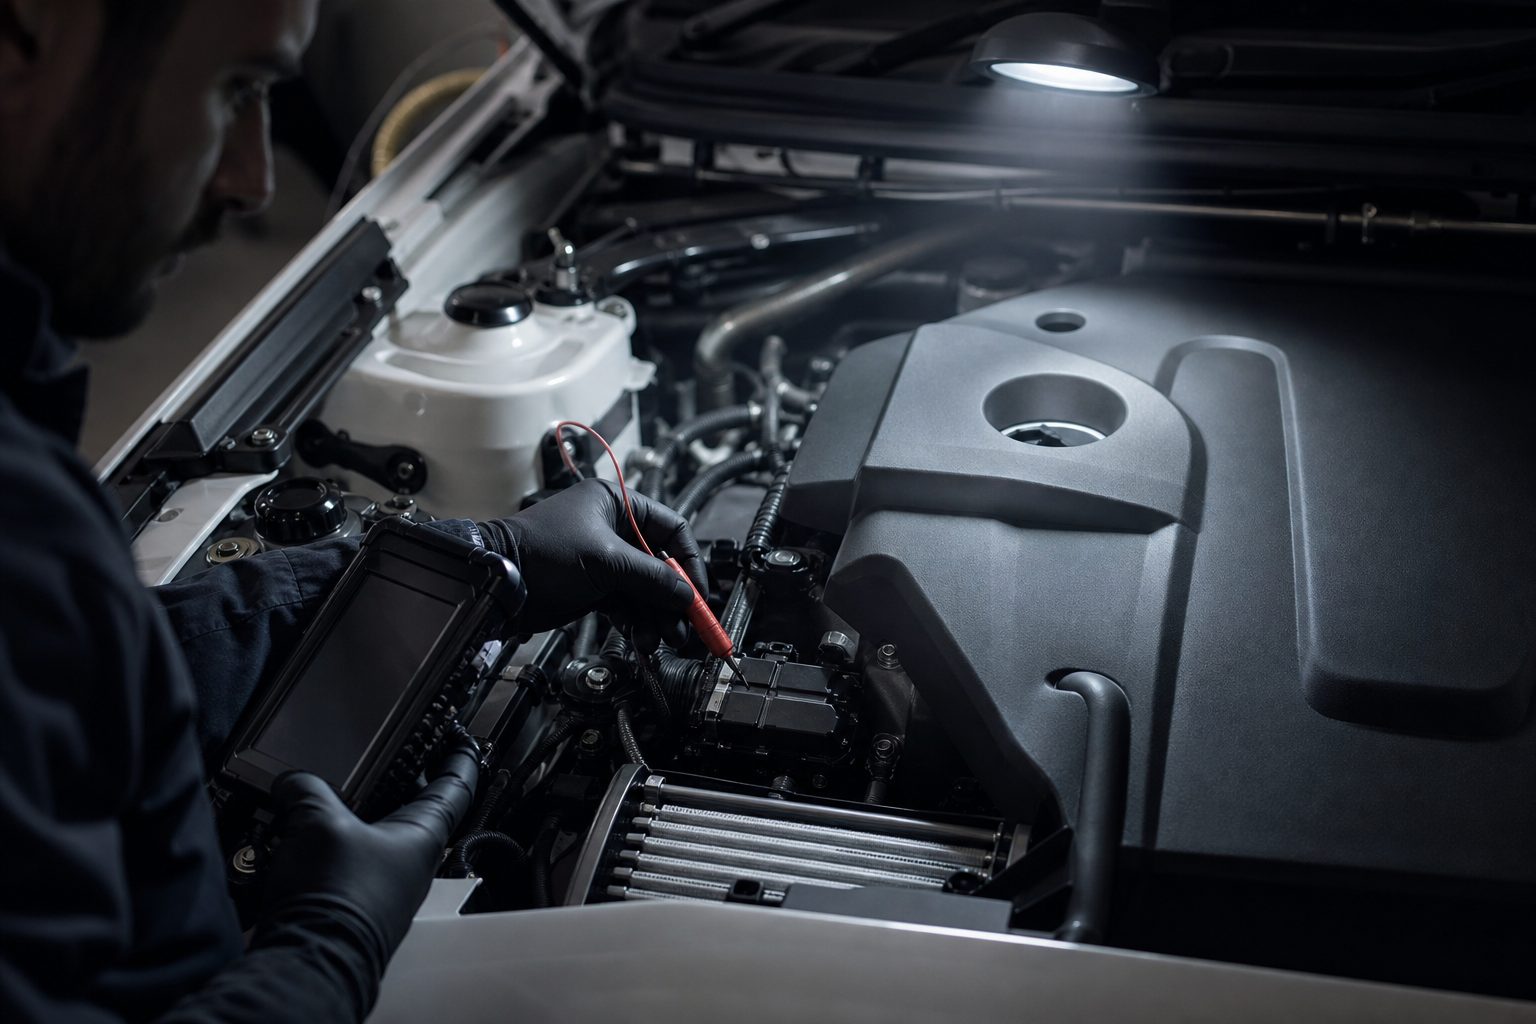
Squeeze the upper radiator hose to check for hardness or cracks. Inspect the serpentine belt for cracks, glazing, or chunks missing. A worn belt might squeal or slip. For the battery, check terminals for corrosion and ensure the hold-down is secure. If your shop has a battery tester, run a quick health check and record the result.
Remove the engine air filter and check for dirt, leaves, or oil. Photograph a dirty filter. Reinstall or set aside for replacement as needed.
See how InspectBay handles this for automotive repair
Steering and Suspension Play With the Wheels Off the Ground
With the wheels still raised, grab each tire at the 12 and 6 o'clock positions and rock it in and out. Excess movement here points to ball joint or wheel bearing wear. At 3 and 9 o'clock, rock the tire again to test for tie rod or steering rack play.
Visually inspect control arms, sway bar links, and strut mounts for any damage or looseness. Look for torn or missing dust boots. Pry gently on each component if unsure. Listen for clunks or knocks from anything moving more than it should.
If the vehicle has grease fittings, check for dry or leaking zerks. Mark any joint that does not take grease easily. Photograph any torn boots, leaking shocks, or rusted-out hardware.
What to Photograph and How to Grade Red, Yellow and Green
Photos are proof for both your customer and your shop. The right photo cuts down on call-backs and builds trust. For each item, take a clear, focused shot: the actual failed part or the measurement in place. For example, a tread depth gauge in a tire groove or a brake pad with a ruler next to it.
Photos should include any leaks, worn bushings, dirty filters, and battery corrosion. Use the same angle each time so comparisons are easy during future visits. Avoid low-light or blurry shots: retake if details are not visible.
Grading each item helps communicate urgency. Red means the part has failed or is a safety issue now: bald tires, brake pads below minimum thickness, fluid leaks, or cracked belts. Yellow covers items with moderate wear or early signs of trouble: uneven tire wear, minor seepage, or filters starting to darken. Green means the part is within serviceable limits and does not require attention now.
Consistency in grading is key. Make sure all technicians use the same benchmarks for red, yellow, and green. Attach photos to the inspection report so the customer can see exactly what you see.
The Five Minute Write Up That Keeps the Bay Moving
A fast, clear write up keeps the inspection from stalling the workflow. Start by linking each photo to its inspection item. Use a template with checkboxes for green, yellow, and red, so you only need to fill in a few words where something needs attention.
Summarize the findings in order: start with safety items, then maintenance, then recommendations. Note anything that should not wait for a future visit. If a customer is present, walk them through the photos on a tablet or printout. If they are not, send the report by text or email with a one-click approval link for urgent items.
Accurate, visual write ups reduce phone calls and back-and-forth. The service advisor can quote repairs right from the inspection report, cutting delays. The technician can move on to the next vehicle while the customer reviews the findings.
Digital vehicle inspection tools streamline this process by organizing photos, severity grading, and one-link customer approvals. This allows the service lane to keep moving while still providing thorough, documented inspections that stand up to scrutiny later.