What the Customer Actually Sees When a Photo Opens on a Phone
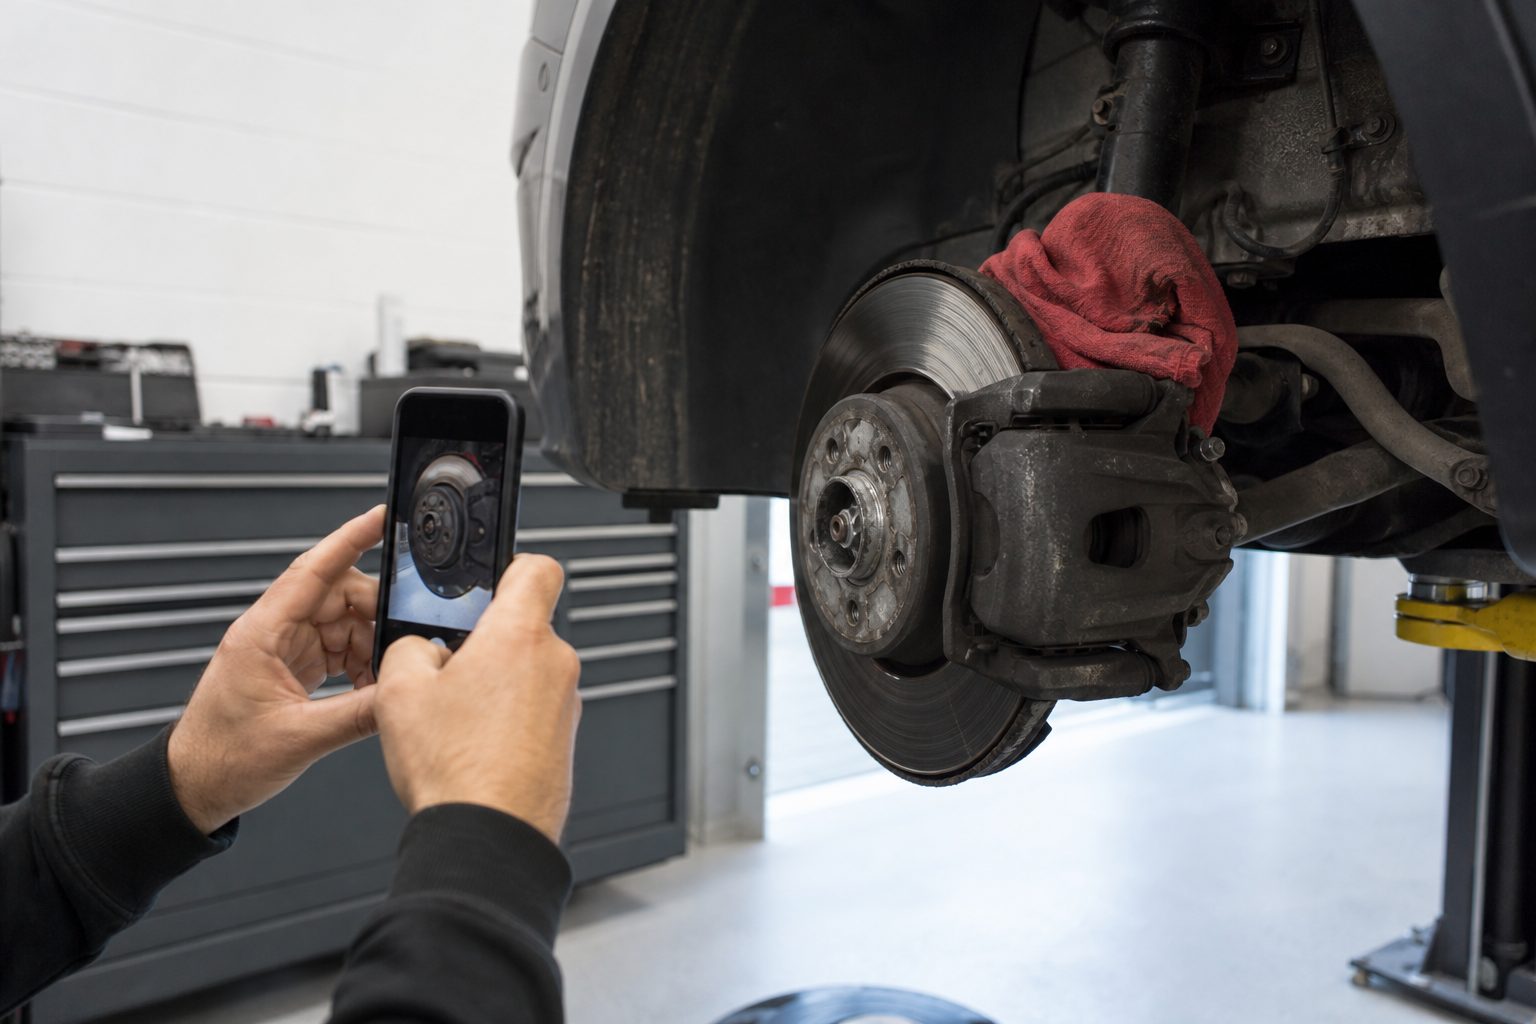
Most customers open inspection photos on their smartphones, often while at work or on the go. Each image appears on a small screen. Details that look clear on a shop computer might blur into the background on a phone.
Customers usually see a single photo at a time, framed by a simple caption or description. They use their fingers to zoom, but almost no one pinches in to see fine details. The first impression is what makes the difference: is this a brake pad that needs replacing, or does it look fine at a glance? Will they trust the need for a tire, or does the shot just look like black rubber?
Your audience is not looking for technical nuance. They want to know: what am I seeing, how bad is it, and what happens if I wait? Your photos must answer these questions clearly, without asking customers to guess.
Keep reading: OE, Aftermarket, and Remanufactured Parts: Cost, Warranty, and Fit
Cleaning the Area and Setting the Light Before You Shoot
Grease on a brake backing plate, dust on a caliper, or a foggy lens can ruin a photo. Wipe down surfaces around the area you plan to photograph. For brake and fluid shots, remove loose dust and grime with a shop rag. For tires, knock off obvious debris so the tread pattern stands out.
Good lighting makes details pop. Overhead shop lights can cast shadows in wheel wells and engine bays. Use a small LED work light or flashlight held at an angle to reduce glare and show depth. Avoid shining the light straight into the camera, which can wash out the image. If possible, take photos before the vehicle is lowered, while there is still enough access and light.
Clean your phone or tablet camera lens before the first shot of the day. A smudge or fingerprint can turn a crisp detail into a blur, especially in low light.
Putting a Measurement in the Frame: Gauge, Ruler or Coin
Numbers in the inspection write-up are important, but a photo with a clear reference tells the story faster. Place a tread depth gauge, a brake measuring tool, or even a clean penny in the photo so the customer can see the scale. A simple ruler works if you do not have a specialty tool handy.
Hold the measurement device steady and close to the part being measured, but do not cover the wear area. If possible, angle the camera so both the reading and the wear are visible in a single, sharp shot. If using a coin, make sure the right side is facing the camera: Lincoln's head for tread, for example, or the edge for a reference to pad thickness.
Clean the tool beforehand. A muddy or oily gauge can distract from the message and create doubt about shop practices. Bright colored handles or markings help the device stand out from the background.
Consistency matters. If every inspection photo uses the same gauge or coin, customers start to recognize what "good" and "bad" look like, just from the framing.
The Brake Shot: Pad Thickness, Rotor Edge and Wear Indicator
Capturing Pad Thickness
Set up with the wheel off, pointing the camera straight at the edge of the brake pad. Focus on the friction material, not the backing plate. Place a brake measuring gauge or a ruler against the pad so the reading is in the frame. If using a coin, stand it on end beside the thinnest point of the pad material.
Take care not to cover the wear surface. Make sure the camera is level, so the thickness is not distorted by an angle. If the pad is worn unevenly, pick the thinnest point for the photo, and note the uneven wear in the caption.
Showing Rotor Edge and Wear Indicator
The rotor's outer edge tells a story. A clear photo showing a lip or ridge helps the customer see that the rotor is not perfectly smooth. Move your light to one side so the shadow highlights the ridge. If the rotor has a wear indicator slot, get it in the shot. If the indicator is gone or almost invisible, point to the spot with a gloved finger or a bright zip tie to draw the customer's eye.
If the pads have a mechanical wear sensor, include it. A close-up shot of the sensor just touching or past the pad backing plate adds credibility to your recommendation.
Keep reading: Six Ways Shops Lose Declined Work Before the Next Visit
The Tire Shot: Tread Depth, Date Code and Uneven Wear Pattern
Tread Depth in Context
Insert a tread depth gauge or penny into the shallowest groove where the tire meets the pavement. Hold the gauge so the reading is visible, or turn Lincoln's head outward for the penny test. Frame the shot with the gauge in focus and the surrounding tread pattern visible. Shoot from the side rather than straight down to give a sense of depth.
For tires close to replacement, shoot at more than one spot, inside, outside, and center, if wear is uneven. This helps the customer see the difference and understand the reason for the recommendation.
Date Code and Sidewall Cracks
Many customers ask about tire age. Find the DOT code on the sidewall and wipe it clean. Snap a close-up so the four-digit date is readable. If the sidewall shows cracking or dry rot, frame the crack with a fingertip or a colored zip tie to focus attention. Make sure the light shows the crack clearly without glare.
Showing Uneven Wear Patterns
For cupping, scalloping, or feathering, hold a straightedge or ruler across the tread to show height differences. Angle the light sideways so the shadow exaggerates the pattern. Photograph the most affected area, and avoid zooming out so far that the detail is lost. If you need to show a bulge or flat spot, place a finger just below it for scale and contrast.
The Leak Shot: Wet Versus Weeping, and Where to Wipe First
Distinguishing Wet from Weeping
Customers often cannot tell the difference between a minor seep and an active leak. Start by wiping the area with a clean rag. If fresh fluid appears immediately, you have an active leak that photographs well. Take a shot that shows the shine of the wet area, using light at an angle to highlight the reflection.
If the area only shows a dark stain or residue, photograph it after wiping so the outline is clear. Use a gloved finger to point at the border between dry and wet. Do not over-zoom: the customer needs to see both the leak and its location on the component.
Showing Source and Consequence
For oil leaks, include enough of the engine or pan in the frame that the customer can identify the area. For coolant or power steering fluid, catch the color and the route the fluid is taking. Show drips on the ground only if they match the fluid in the photo above. A before-and-after pair, one shot before wiping, one after, can be helpful, but keep both shots clear and uncluttered.
If the leak is minor, note in the photo or caption where to watch for worsening. If fluid is pooling or dripping, photograph the drip at the tip of the bolt or seam for maximum impact.
See how InspectBay handles this for automotive repair
Captions That Name the Part, the Measurement and the Consequence
Photos alone do not tell the whole story. A clear, specific caption bridges the gap between what the technician sees and what the customer understands. Name the part in plain English: "Front left brake pad," "Right rear tire," or "Valve cover gasket."
Include the measurement: "2 millimeters remaining," "Tread depth 4/32 inch," "Leak is actively wet after wiping." When possible, add a reference: "New pad is 10 millimeters," or "Recommended minimum is 2/32 inch."
State the consequence without drama. Tell the customer what happens if this goes unfixed: "Pad below minimum thickness, risk of rotor damage," "Tire near legal limit, reduced wet traction," or "Leak may worsen and lower oil level." Avoid technical jargon or abbreviations that customers will not recognize.
If the shot shows a normal condition, say so: "Slight weep, no action needed at this time." This builds trust and makes future recommendations more credible.
Short Video Clips: When Thirty Seconds Beats Three Photos
Some issues are best shown in motion. If a tire thumps or a brake squeals, record a short clip of the symptom. For leaks, a video of fluid actively dripping or bubbling after the engine starts can make the impact clear. Keep videos under thirty seconds, with the camera held steady and the sound clear.
For suspension play, show movement with a pry bar or during a steering check. Narrate briefly: "This is the ball joint with movement," or "Hear the squeak when the wheel turns." Show your hand in the frame for scale and to point out specific motion.
Video works well for showing the difference between normal and abnormal. Compare a good pad to a worn one, or show a tire before and after a rotation. Avoid long, shaky pans or background shop noise that drowns out your point.
Post the video as a link in the digital inspection report, or as an extra note in the customer message. A short, clear video can often replace several photos and answer customer questions before they pick up the phone.
Closing the Loop: Tools That Make Every Inspection Readable
Consistent, clear photos make digital inspections more valuable to your team and your customers. The right habits, cleaning the area, showing measurements, framing for small screens, and writing straight captions, build trust and cut down on follow-up calls. Short videos can show what words and still images cannot.
Tools that let you snap photos, record severity, and send one-link approvals help close repair orders faster and with fewer questions. Digital vehicle inspection platforms with built-in photo and video features support these best practices and make every inspection readable, no matter where the customer is when the alert comes in.